How Can We Help?
Important: prior moving forward with this guide, make sure your Square settings are in place: Square Part 1 – Standard Setup

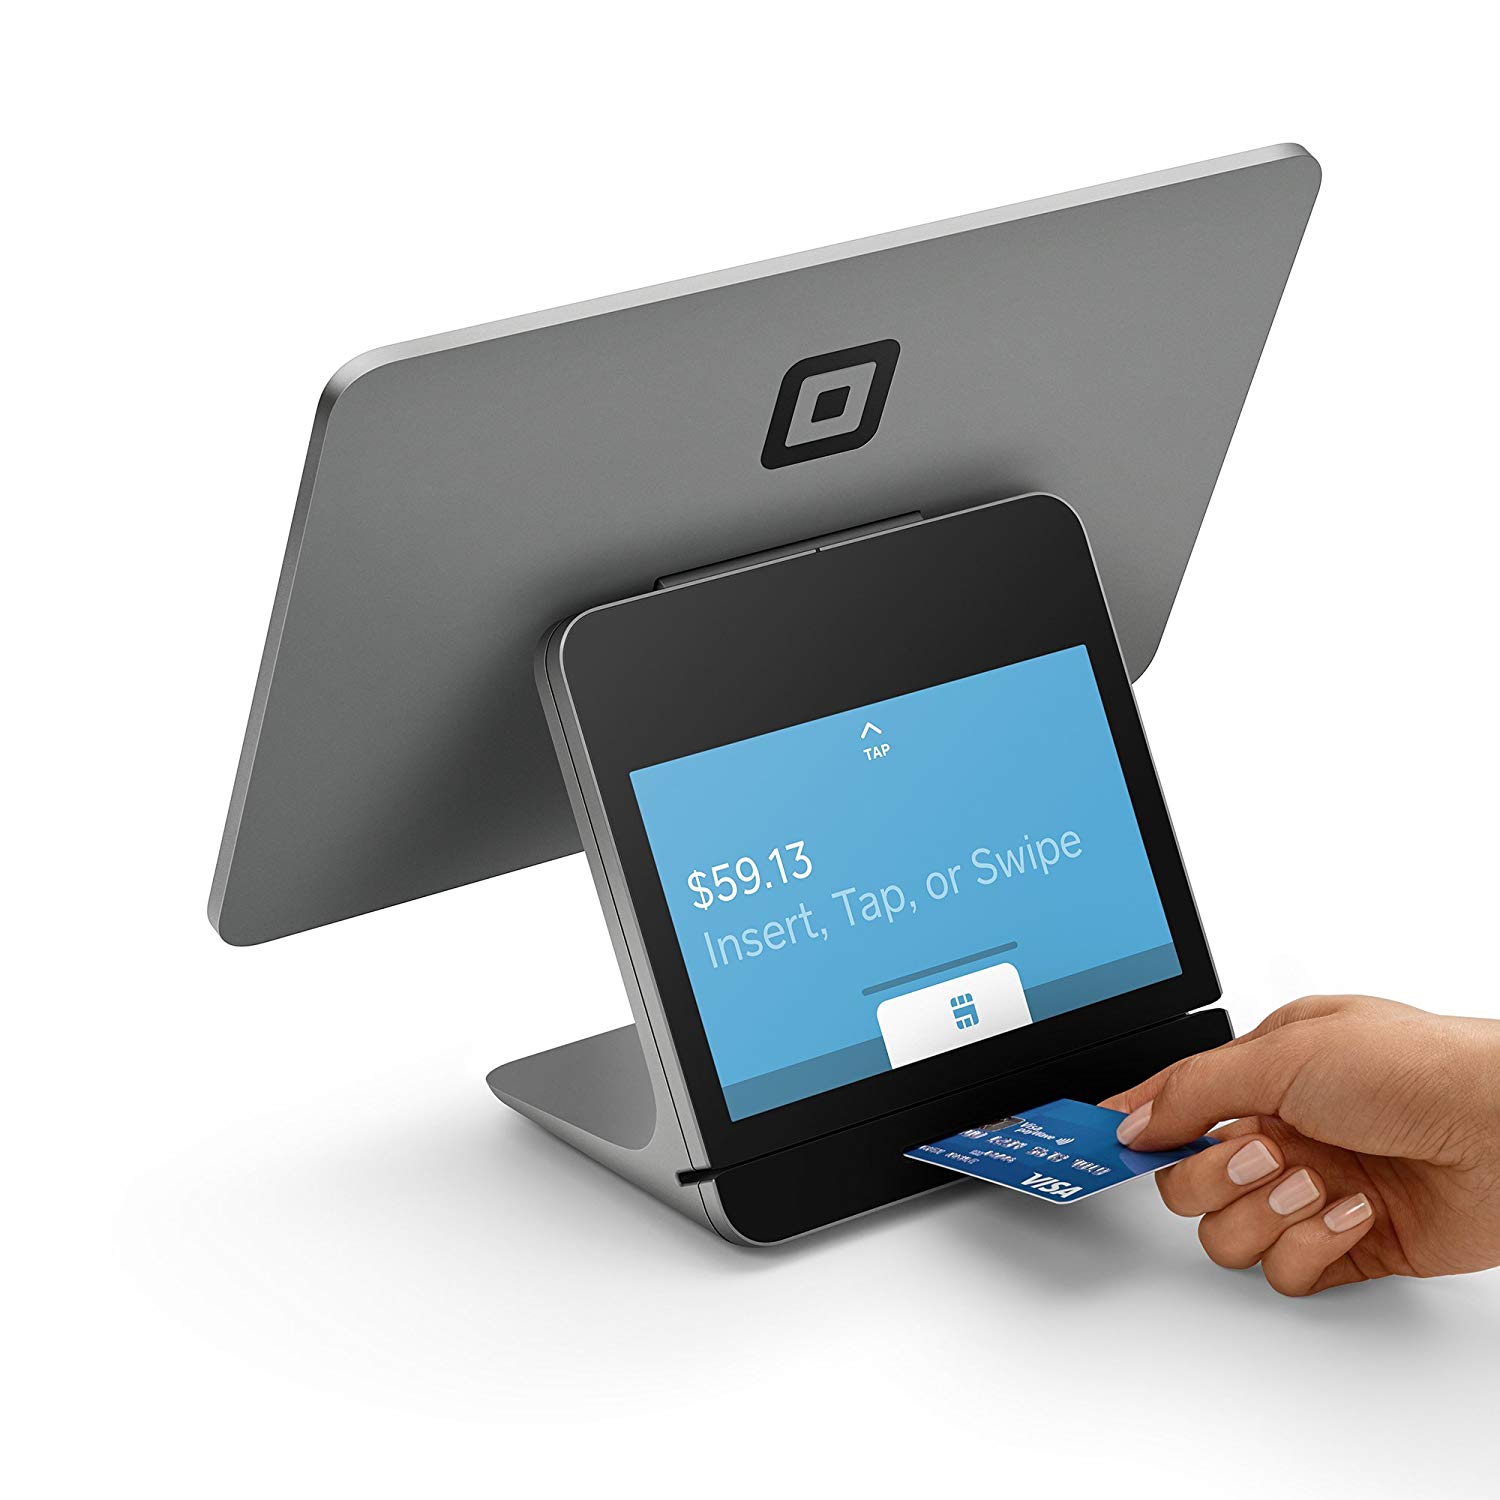
The POS-To-Action setup is useful when:
- You want to start or extend a session as a result of payment processed on a Square POS terminal
- You want to automatically add payments to the SynthesisVR “walk-in” popup
- You want to automatically add payments to the “Sell Goods” popup
How to setup:
1. Under SynthesisVR, go to “Administration >> Advanced Settings >> Online & Email Settings >> Web Widgets & API”. Scroll down to the “API ACCESS” section. Then click the + character for creating a new rule. Create a new one and assign the “Square Webhooks” permission. A detailed example of creating a new API rule can be found here: https://synthesisvr.com/knowledge-base/reading-leaderboard-through-api/
After creating the rule, refresh the page and copy the Public Key.
2. Under Square (https://squareup.com/dashboard/), go to “Apps >> My Apps >> Manage App” (the process is handled with more details in our previous guide) and select the “Webhooks” option from the sidebar.
3. Set the notification URL to:
- https://api.synthesisvr.com/squareWebhooks/111111111-1111-1111-1111-111111111111
Replace 111111111-1111-1111-1111-111111111111 with your correct Public Key (created above) and click the “Save” button, located on the bottom right side of your screen.
4. Copy the “Signature Key” value. Paste it under the “Webhook Signature Key” field of the Square setting (Administration >> Advanced Settings >> Payment Processors >> Square Settings) under SynthesisVR.
Change the “POS to Action” to the desired behavior and Save the popup.
POS to Actions:
- Empty = disabled
- Session Only – if an item payment is related to a Synthesis session (explained below in this guide), the session either start or a running one gets extended
- Web Only — any non-item payments are added automatically to the Walk-in and Goods popups
- Session and Web — both previous options are enabled
5. Configure your Square items.
For correct interaction with Synthesis, each Square Item or Item variation must have a specific SKU format.
Each SKU has to start with:
- svr:s:
standing for “SynthesisVR Session”
The next part of the SKU contains 3 numeric values separated by the | character.
- Parameter 1 = Experience Type ID
- Parameter 2 = Duration
- Parameter 3 = PC ID(s) (in case of multiple PCs, separate the ids by comma)
Example:
- 1|30|9,10
A successful payment for this item will start 30 minutes Immersive session on PCs with id 9 and 10.
Depending on the number of stations and experience types, creating a comprehensive Square SKUs setup could be a time-consuming task. Instead, on the Square settings popup under Synthesis, you’ll find a button that will do that for you: [Push POS-To-Action related SynthesisVR settings to Square]
Click that button, wait for 30 seconds and the magic is done.
For better session management through the Square POS terminal, each of your VR stations will be created as a “Square Category” and you’ll be able to filter the Items on that base.
UPDATE November 1st, 2019:
The Square integration now supports selling goods and balance as well as the Reward Points module.
To sell an item, you have to use a specific SKU:
- svr:g:<ID>|<QUANTITY>
The ID can be found upon clicking on the item under the Goods section. Supplying a quantity is optional, with a default value of 1. The quantity value will be multiplied by the quantity value provided by Square.
Example SKUs:
- svr:g:8
- svr:g:3025
The functionality work only if the Square sell have an attached customer to it.
Now you can enjoy using SynthesisVR together with Square POS.
