How Can We Help?
Wake-on-LAN (sometimes abbreviated WoL) is an industry standard protocol for waking computers up remotely. Wake-on-LAN is dependent on two things: your motherboard and your network card. Your motherboard must be hooked up to an ATX-compatible power supply, as most computers in the past decade or so are. Your Ethernet or wireless card must also support this functionality.
Step 1: Enable Wake-on-LAN in your BIOS
Please go through your BIOS settings and enable any Wake-on-LAN option you find. As the option varies, if you are unsure how to do that, google your motherboard model together with the “wake on lan” text
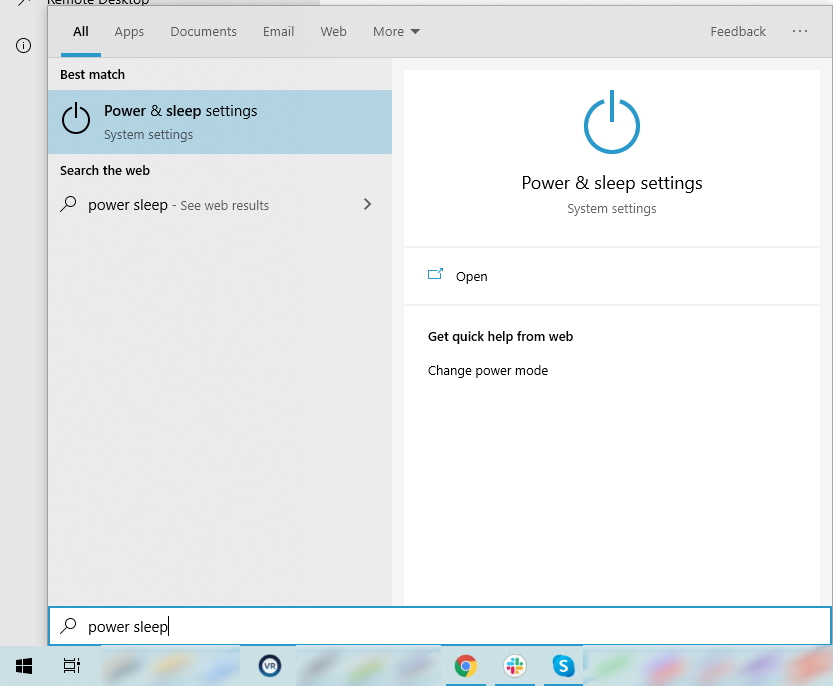
Step 2: Enable Wake-on-LAN in Windows
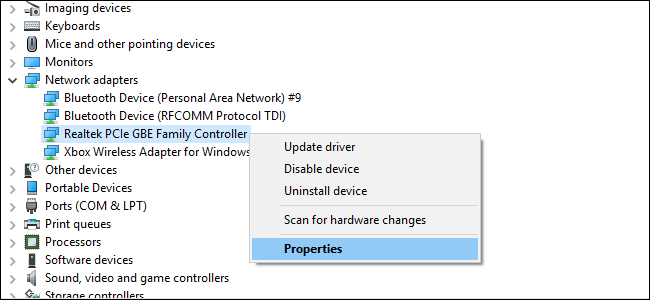
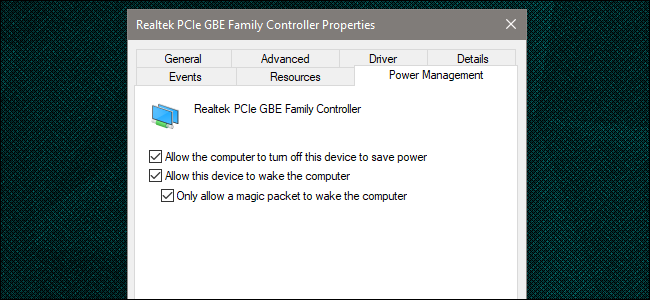
You’ll also need to enable Wake-on-LAN in your operating system. Here’s how it goes in Windows. Open the Start menu and type “Device Manager”. Open the Device Manager and expand the “Network Adapters” section. Right click on your network card and go to Properties, then click on the Advanced tab.
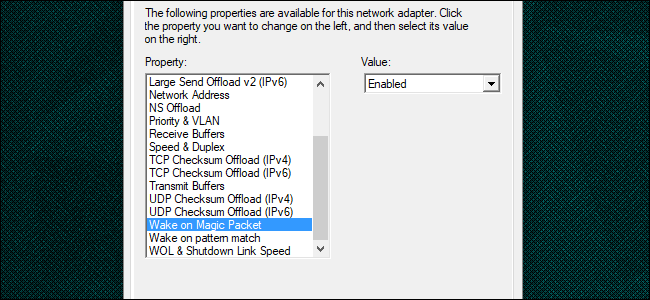
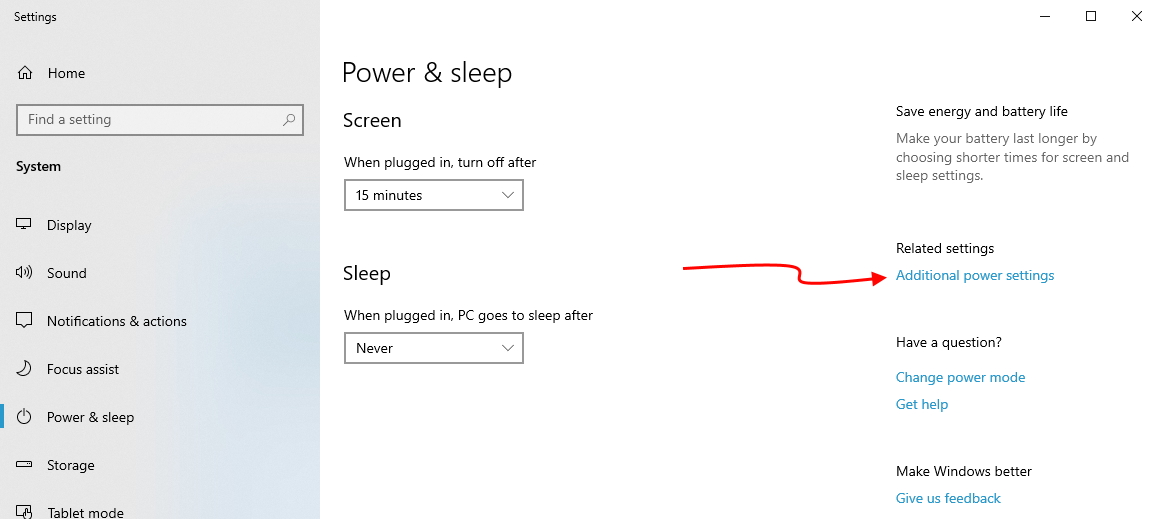
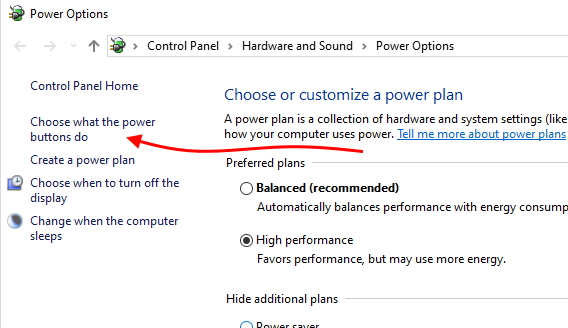
Adjust the ethernet adapter settings:
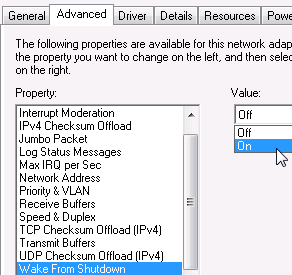
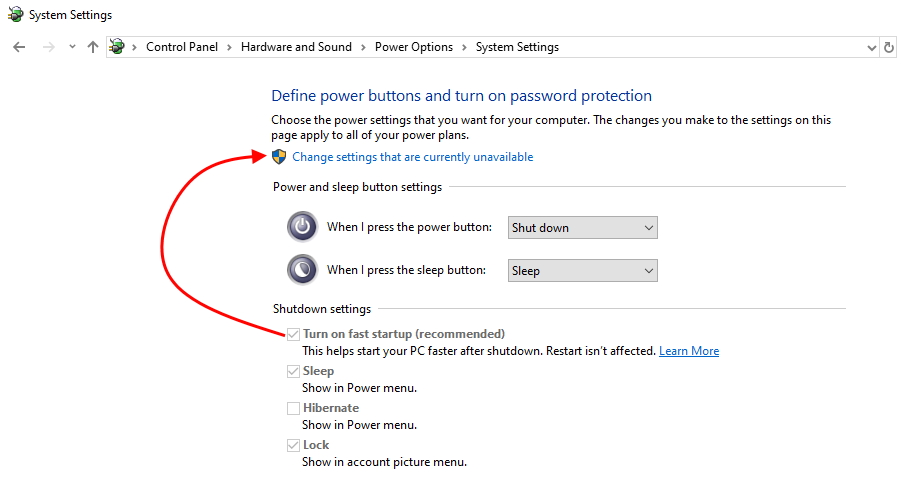
Disable the Fast Start option:

Step 3: Use through SynthesisVR
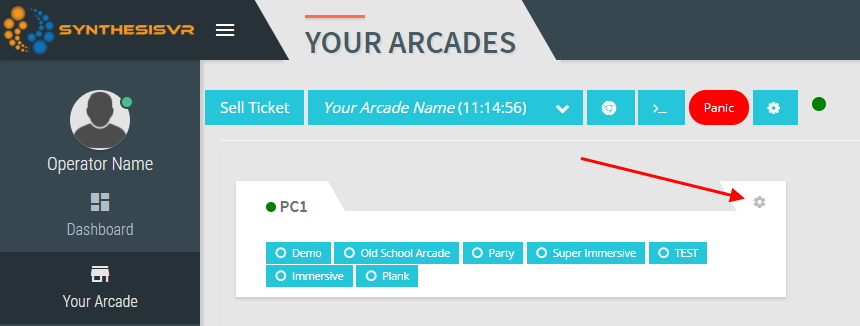
Under “Your Arcade” page, click on the PC you want to shut down or wake up.
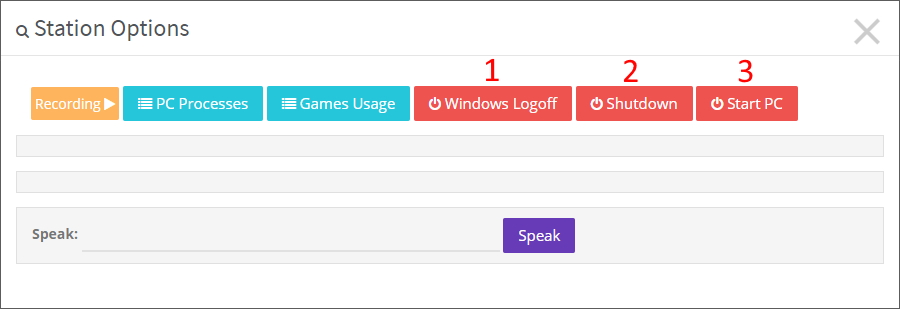
[Windows Logoff] – the currently logged Windows account will be logged off. If you have setup automated Windows Login, your account will be instantly logged back. As a result, you can reload the environment without a full Windows restart.
[Shutdown] – the computer will be turned off.
[Start PC] – Upon successful Wake-on-LAN setup, the computer will be turned back on from the shutdown state.