How Can We Help?
The “SynthesisVR 3D Island” and all further 3D environments are based on APIs that can be accessed by third party launchers. The APIs do not bring any restrictions, so they can be utilized by Unity, Unreal Engine and any other game development engines.
As we are using Unity, please feel free to mail us at info@synthesisvr.com for the complete Unity project of the Island environment.
Once your new environment is ready, please follow the steps:
1) Upload your environment onto your web server or online location that is accessible without restrictions.
2) head over to:
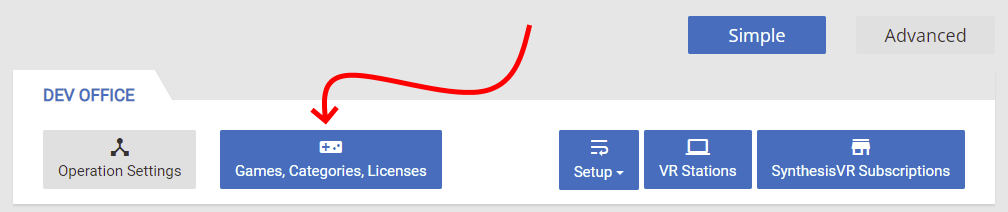
In the Simple View:
Administration >> Games, Categories, Licenses:
In the Advanced View:
Administration >> Business Setup >> Games, Categories, Licenses:
In the Advanced View:
Administration >> Business Setup >> Games, Categories, Licenses:

In the Advanced View:
Administration >> Business Setup >> Games, Categories, Licenses:
3) On the page, click on the “Launchers” tab and then on the “+ Add New Launcher” button to add a new record
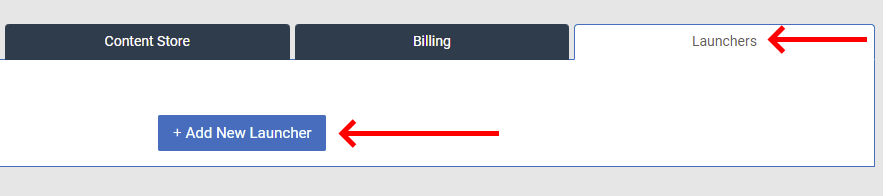
4) You would see the following popup: