How Can We Help?
Introduction
This is a short guide on how to properly set up MissionX via SynthesisVR.
Important Note: MissionX has 2 different versions
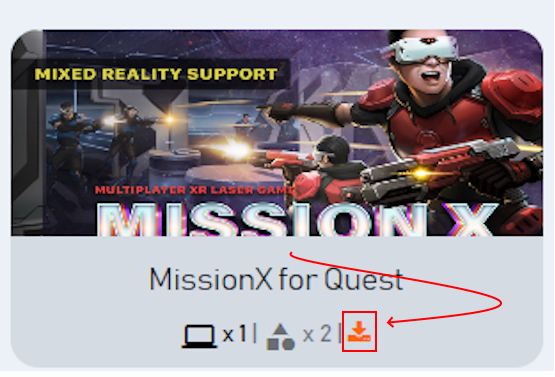
1. MissionX for Quest
Install this version if you are going to play the game on the Meta Quest headsets.
2. MissionX
Use this version if you are using an other headsets such as the HTC Focus 3 or Pico Headsets.
Step 1: License the game
How to License Content: https://synthesisvr.com/knowledge-base/licensing-games/
Step 2: Install the game on the headsets
How to Install/Uninstall/Update Licensed Content on your Standalone Headset: https://synthesisvr.com/knowledge-base/manage-standalone-content/
Step 3: Install the game on the dedicated game server
Not sure what a dedicated game server is? View this article: https://synthesisvr.com/knowledge-base/game-server-automation/
You’ll also have to install the game on your dedicated server PC, this can be done from the Access point by going to “Content Events” tab.
If it is not there,
- go to my.synthesisvr.com –> Administration –> Games, Categories, Licenses –> Your Games –> “Show All Games”
- Click the orange installation icon
- Select your game server
- Select the installation location
- Click “Install”
You will now find the game is installing under the “Content Events” tab in the Access Point of your game server computer
Step 4: Assign the game to the dedicated server
You will also have to assign the game to the “Dedicated server games” list, the process is mentioned in the Standalone server article: https://synthesisvr.com/knowledge-base/game-server-automation/
Step 5: First time start-up – Start the application and configure the game manually
Starting the game on the game server manually
We recommend starting the game manually for the “Non Quest” version of the game, on the server the first time, so that you can log in with your arcade credentials for the game ( you can select the Auto login and remember password options so that the process can be automated ) .
To start the game manually,
- Find the SynthesisVR Exclusive Content Folder. This can be found in your C:/ drive.
- Open the folder “5931” or “29666”
- Select “HolomiaVRZ.exe”
- Take note of the room code
Your Credentials & Extra Settings
The credentials can be found by going to Administration–>Games, Categories, Licenses–> Find the game, click on it and go to the “Extra Settings” tab, there you’ll have your MissionX account info as well as some helpful plugins and automations for the game.
Something that we recommend is to use the “Instant game start” option that is at the bottom, as this will allow the game to start immediately rather than wait for the players to connect before the game begins.
Start the game inside the headset, manually
- In your headset, locate your app library, and navigate to the “Unknown Sources” section.
- Launch “HolomiaVRZ”
- Enter the room code found in the MissionX application on your game server
- Select the option to remember the room code
- Join the lobby
After all of your headsets have connected to the lobby, you can close the game manually in each of the headsets, and on the game server.
Step 6: Launch the game using the Local Manager from this point on
Not sure how to launch games?
How to Launch Games: https://synthesisvr.com/knowledge-base/local-manager-launching-games/
After this is done, and you’ve successfully joined the lobby, you can now close the game on the HMDs and the server, and run it properly from the Local manager launcher. The server should automatically log you in, while the headsets should automatically join the lobby.